Ever since I was an 8-year old elementary school student I was already obsessed with video games, PC/DOS gaming in particular, but I did carry my Nintendo Game Boy around nearly everywhere I went. With classics like Super Mario Land, Wario Land, Pokemon, and Zelda: Link’s Awakening (you know, the usual).
Recently I bought an Analogue Pocket, a modern FPGA-based handheld console that can play original Game Boy cartridges. 1980s and 1990s game development and history is somewhat of a passion of mine, but somehow I never got around to trying Game Boy development, so I decided to finally give it a whirl.
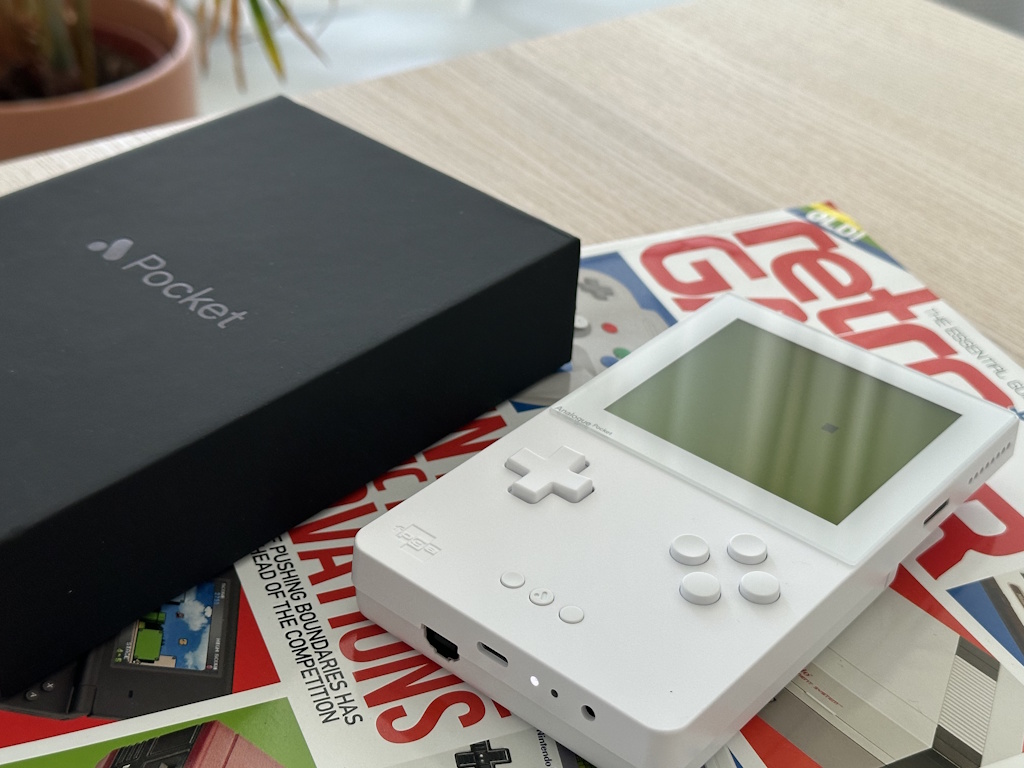 My pretty white Analogue Pocket running a test demo I wrote.
There are 3 ways to develop Game Boy games nowadays:
- GB Studio: A drag-and-drop game development environment that requires no coding knowledge (but does allow for complex scripting).
- GBDK: A C-based software development kit that provides full flexibility and control. It does require a lot more programming knowledge but still relatively accessible.
- ASM: If a deity made the universe, assembly language would have been used. This allows for the most low-level control over the hardware. I have the utmost respect for all the games that were written in ASM back in the day. But with GBDK around it just seems like madness to me. Just because you can, doesn’t mean you should.
So, I opted for GBDK. While my C skills are a bit rusty, part of the fun is writing code that actually runs on real hardware again.
I wrote a simple test demo that renders a square sprite that can be moved around the screen using the D-pad. Here’s a video of it running on my Analogue Pocket.
It doesn’t take much to get a simple Game Boy game up and running using GBDK. After setting up your development environment, create a C file (e.g. main.c). I’ve commented the code below to explain what’s going on.
#include <gb/gb.h>
#include <stdint.h>

// Small array that represents a filled 8x8 pixel sprite

unsigned char player_sprite[] = {
	0xFF, 0xFF, // Row 1: ########
	0xFF, 0xFF, // Row 2: ########
	0xFF, 0xFF, // Row 3: ########
	0xFF, 0xFF, // Row 4: ########
	0xFF, 0xFF, // Row 5: ########
	0xFF, 0xFF, // Row 6: ########
	0xFF, 0xFF, // Row 7: ########
	0xFF, 0xFF  // Row 8: ########
};

// Player position (start at the center of the screen)
// Game Boy screen is 160x144 pixels, offset by half a sprite (8x8 pixels)

uint8_t player_x = 84;
uint8_t player_y = 76;
#define PLAYER_SPRITE 0
Next we set up our C function prototypes and initialize our game.
void init_game(void);
void handle_input(void);
void main(void);

void init_game(void)
{
	// Load (player) sprite tile into VRAM

	set_sprite_data(0, 1, player_sprite);

	// Set up player sprite and position

	set_sprite_tile(PLAYER_SPRITE, 0);
	move_sprite(PLAYER_SPRITE, player_x, player_y);

	// Call GBDK macros to show background, sprites and turn on the display

	SHOW_BKG;
	SHOW_SPRITES;
	DISPLAY_ON;
}
Next we handle player input and movement.
void handle_input(void)
{
	uint8_t joy = joypad();

	// Update player position based on input
	// Limit movement to screen bounds

	if (joy & J_UP)
	{
		if (player_y > 16)
			player_y = player_y - 2;
	}
	if (joy & J_DOWN)
	{
		if (player_y < 152)
			player_y = player_y + 2;
	}
	if (joy & J_LEFT)
	{
		if (player_x > 8)
			player_x = player_x - 2;
	}
	if (joy & J_RIGHT)
	{
		if (player_x < 160)
			player_x = player_x + 2;
	}

	// Update player sprite position

	move_sprite(PLAYER_SPRITE, player_x, player_y);
}
Finally, we have our classic while(true) main game loop.
void main(void)
{
	init_game();

	while (1)
	{
		handle_input();

		// Wait for VBlank to prevent tearing

		wait_vbl_done();
	}
}
To compile the code, I have a little Windows batch file (make.bat) that sets the GBDK path, compiles the code, deletes the object file and starts the resulting .gb ROM file in an emulator for quick testing.
path=c:\gbdk\bin

lcc -Wa-l -Wl-m -Wl-j -DUSE_SFR_FOR_REG -c -o main.o main.c
lcc -Wa-l -Wl-m -Wl-j -DUSE_SFR_FOR_REG -o main.gb main.o

del main.o
start main.gb
Obviously this is just a very simple example, actual gameplay code tends to ramp up the complexity real quick. But hey, it’s a great starting point to get familiar with the hardware and GBDK. Draw a background, add more sprites, sound effects, music, game logic, etc. Baby, you’ve got a stew going!